Week 2 Computer aided design
Objectives
- model (raster, vector, 2D, 3D, render, animate, simulate, ...) a possible final project
- compress your images and videos,
- post a description with your design files on your class page
-
Understanding 2D Design
-
1.Understanding Rasters and Vectors
-
2. Trying out Raster tools
-
-
Understanding 3D Design
Fusion 360
Rhino
Sketchup
Understanding 2D Design
One of the tasks being 2D design, We were introduced to the basic 2D tools. It was important to learn the concept of Rasters and Vectors to understand the same.
1. Rasters and Vectors


2. Trying out Raster tools
Trying out and getting familiar with different Rater tools was the next step. The tools we were suggested includes photopea, Photoshop
Photoshop
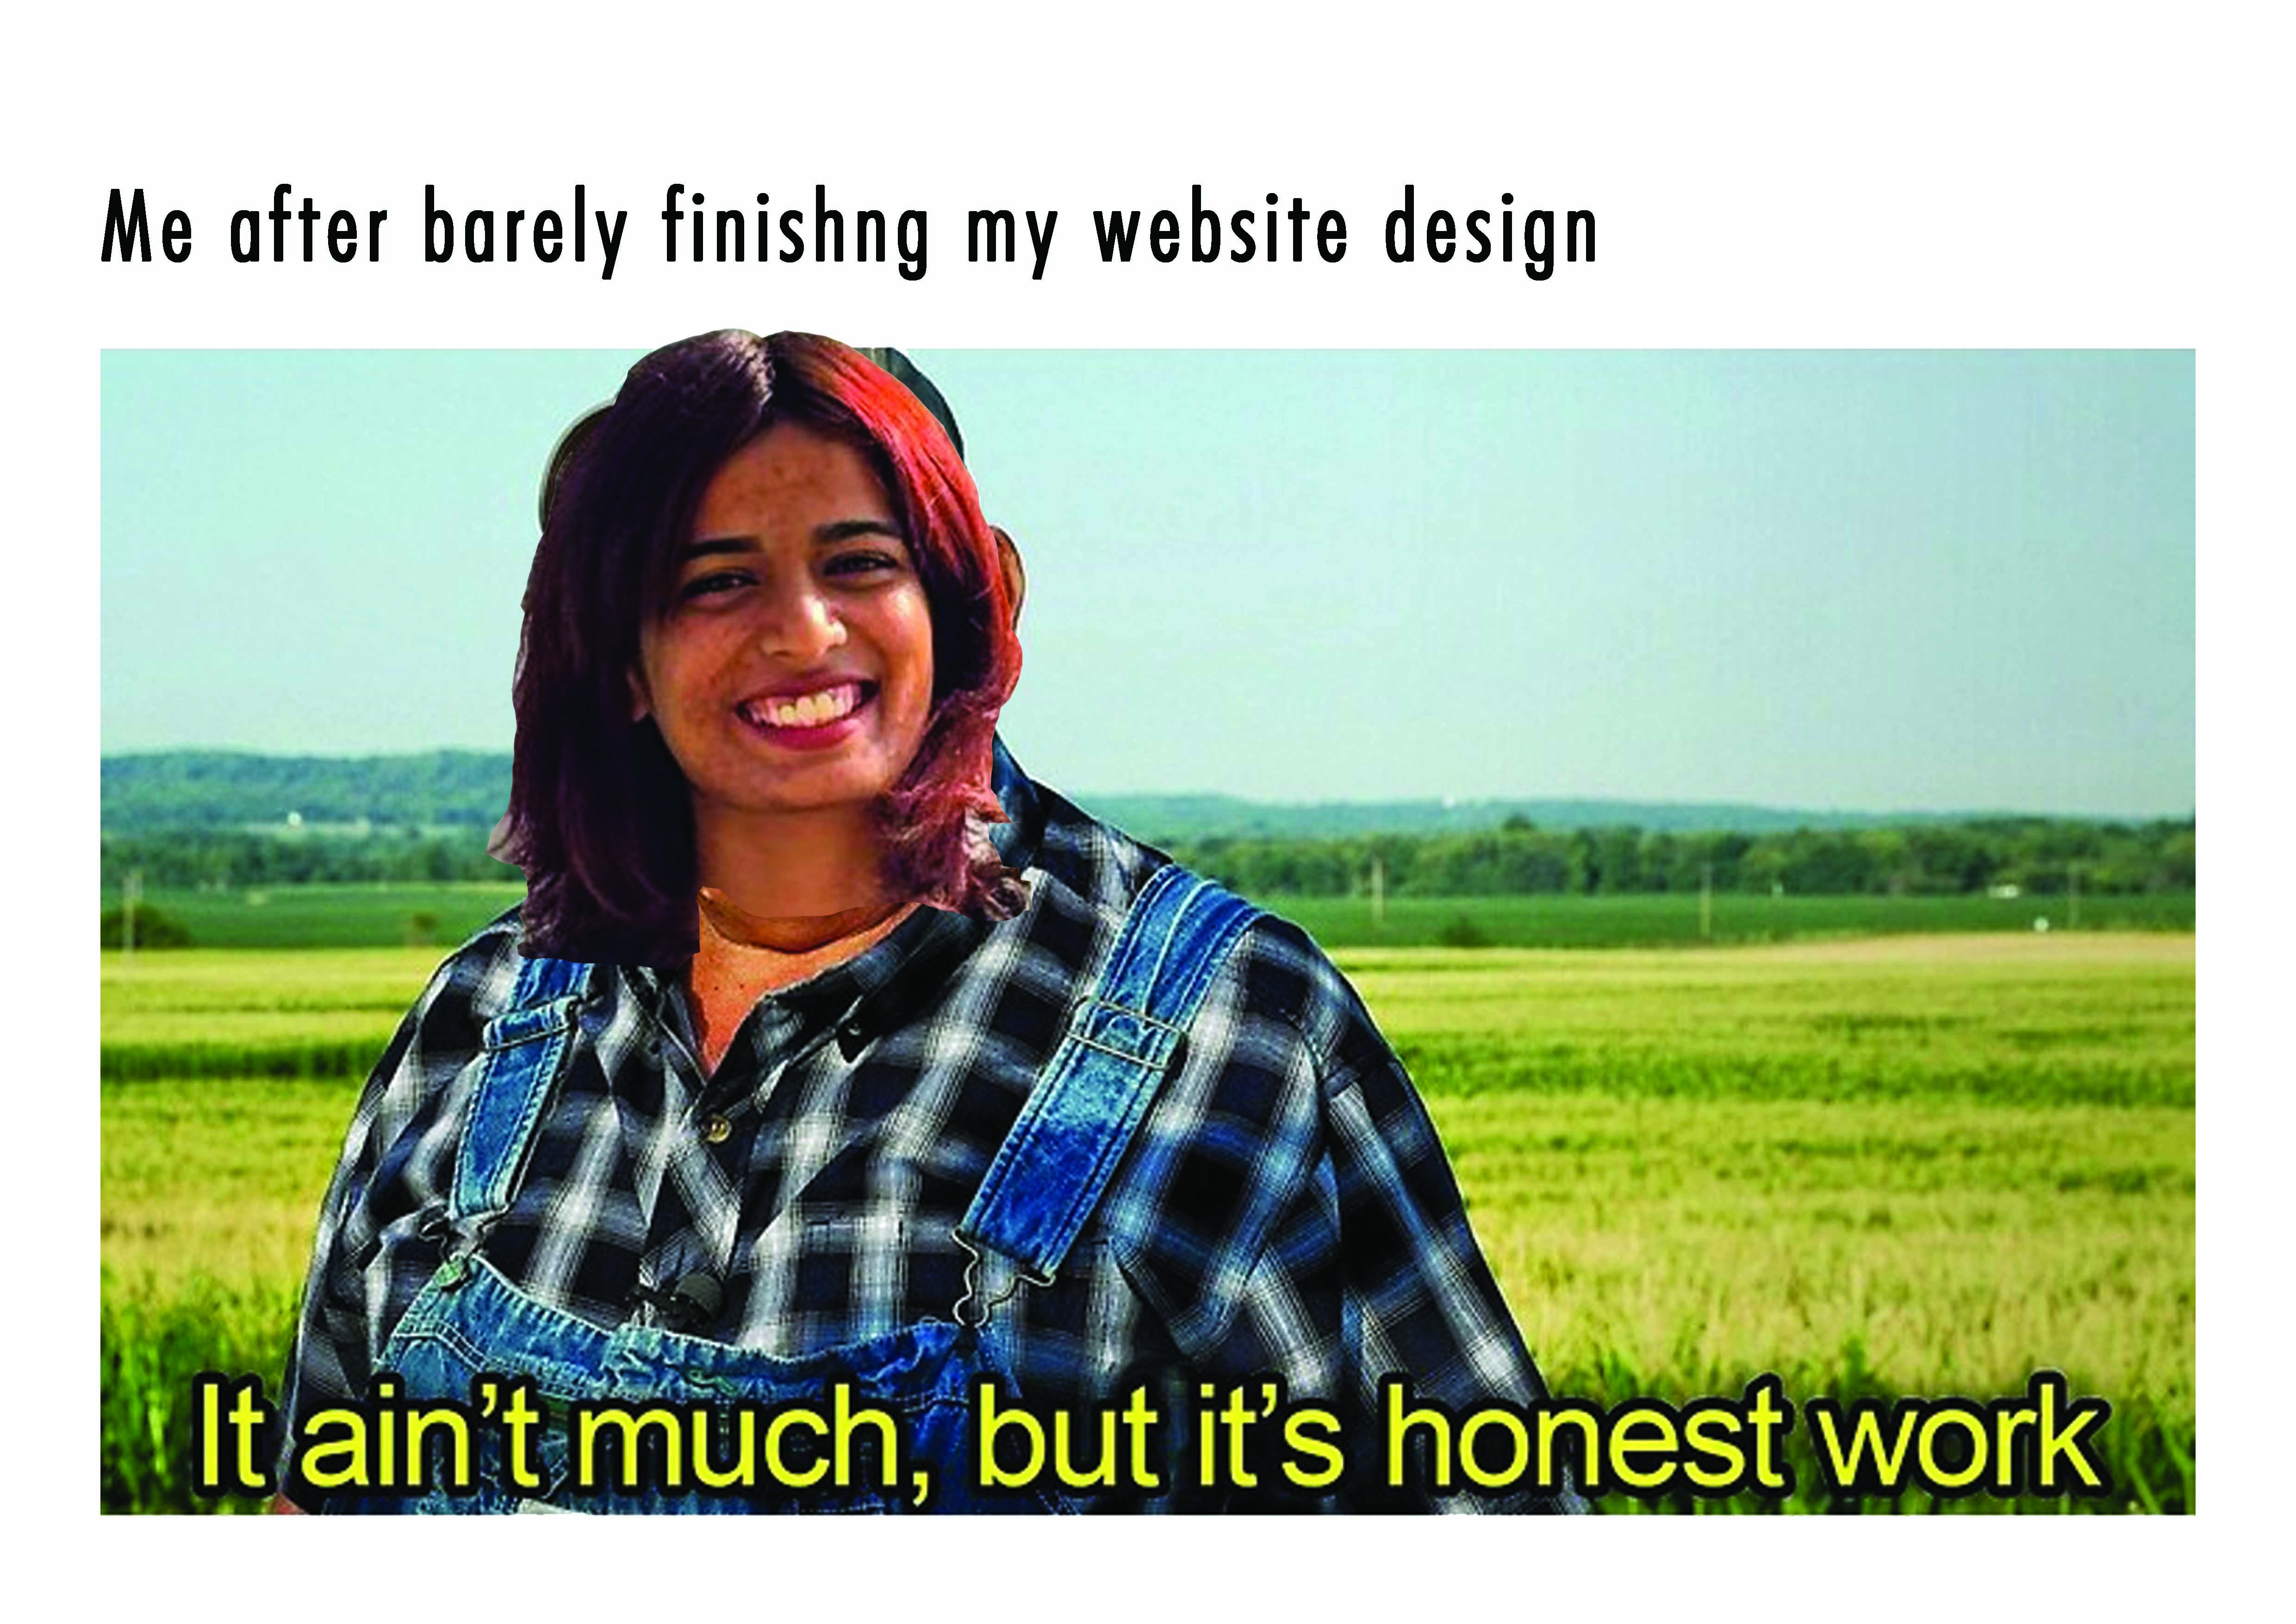
I already had photoshop installed in my computer and I’m familiar with using the same.

I mainly used the magnetic lasso tool here
3. Trying out Vector tools
Inkscape
We were suggested to try out Inkscape
Inkscape is professional quality vector graphics software which runs on Linux, Mac OS X and Windows desktop computers.
- This is the interface of Inkscape. It has a toolbar to the left.
- I drew an outline above the original image using pen tool and filled colour
I also tried using trace bitmap for the same process


Understanding 3D Design
1.Fusion 360
Being an architect I’m familiar with 3D tools like Sketchup and Revit. And for rendering I use Lumion. Fusion is something I have never tried out before. it was really interesting to try it.
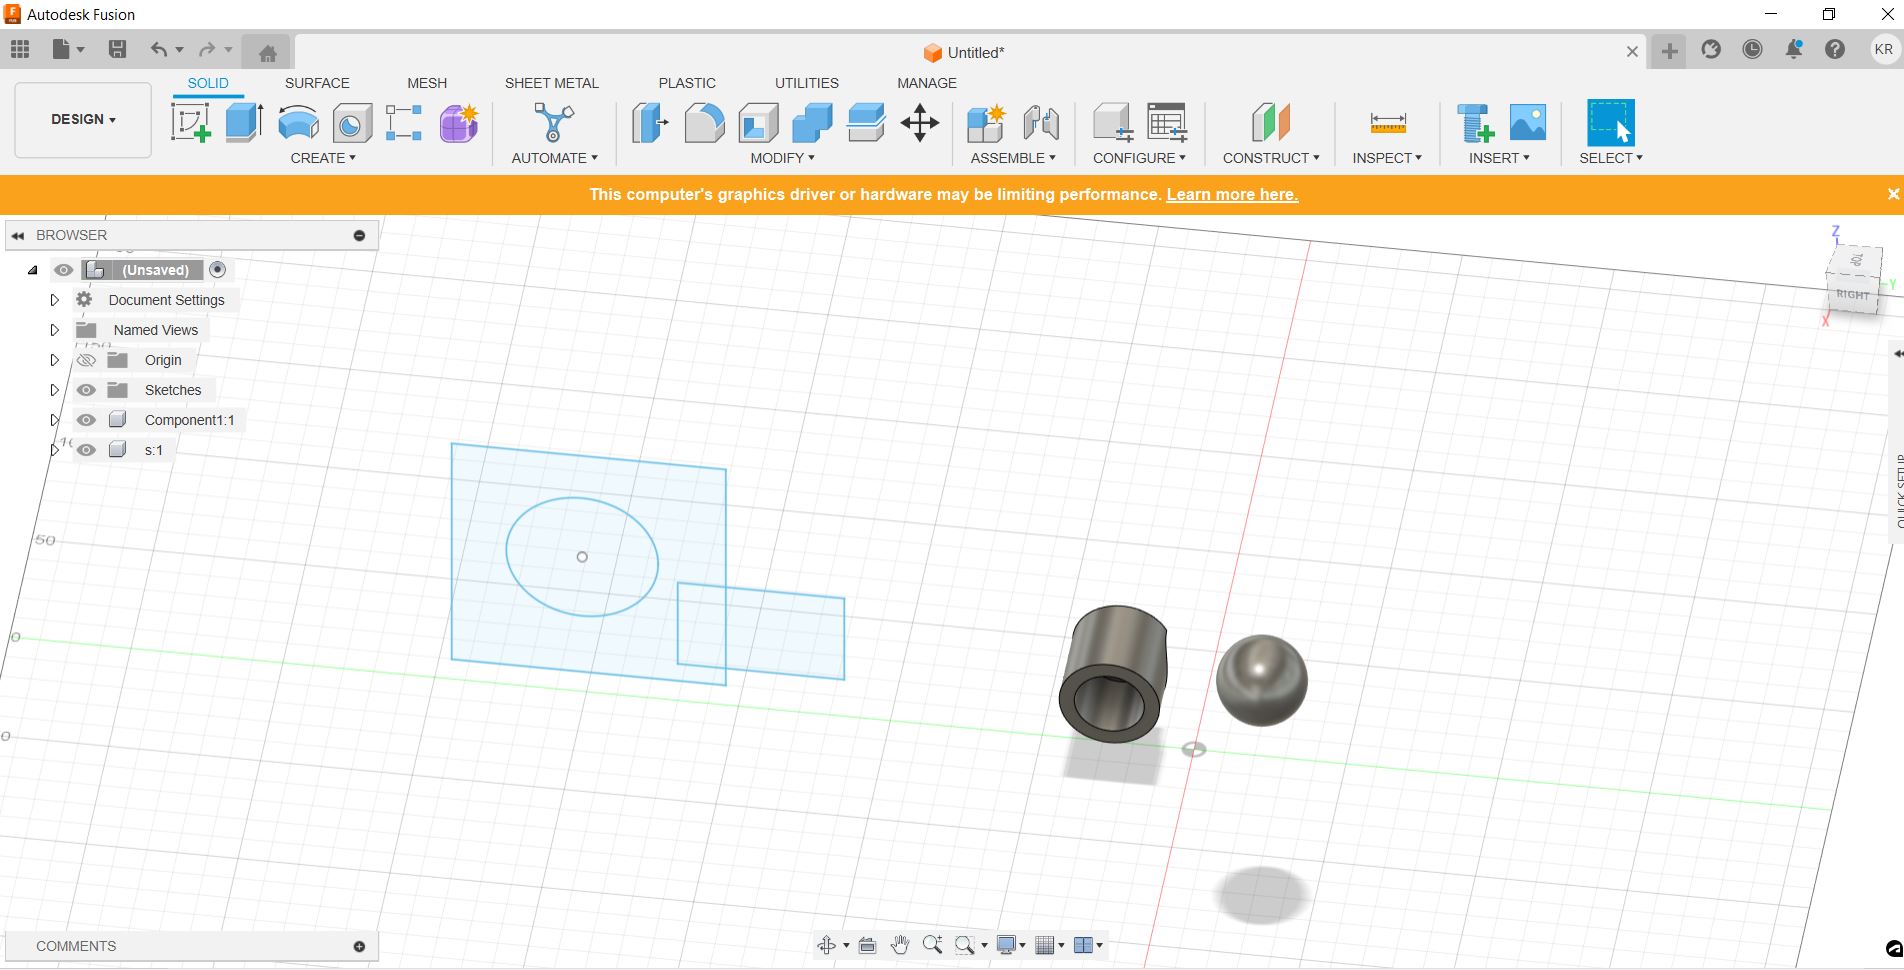
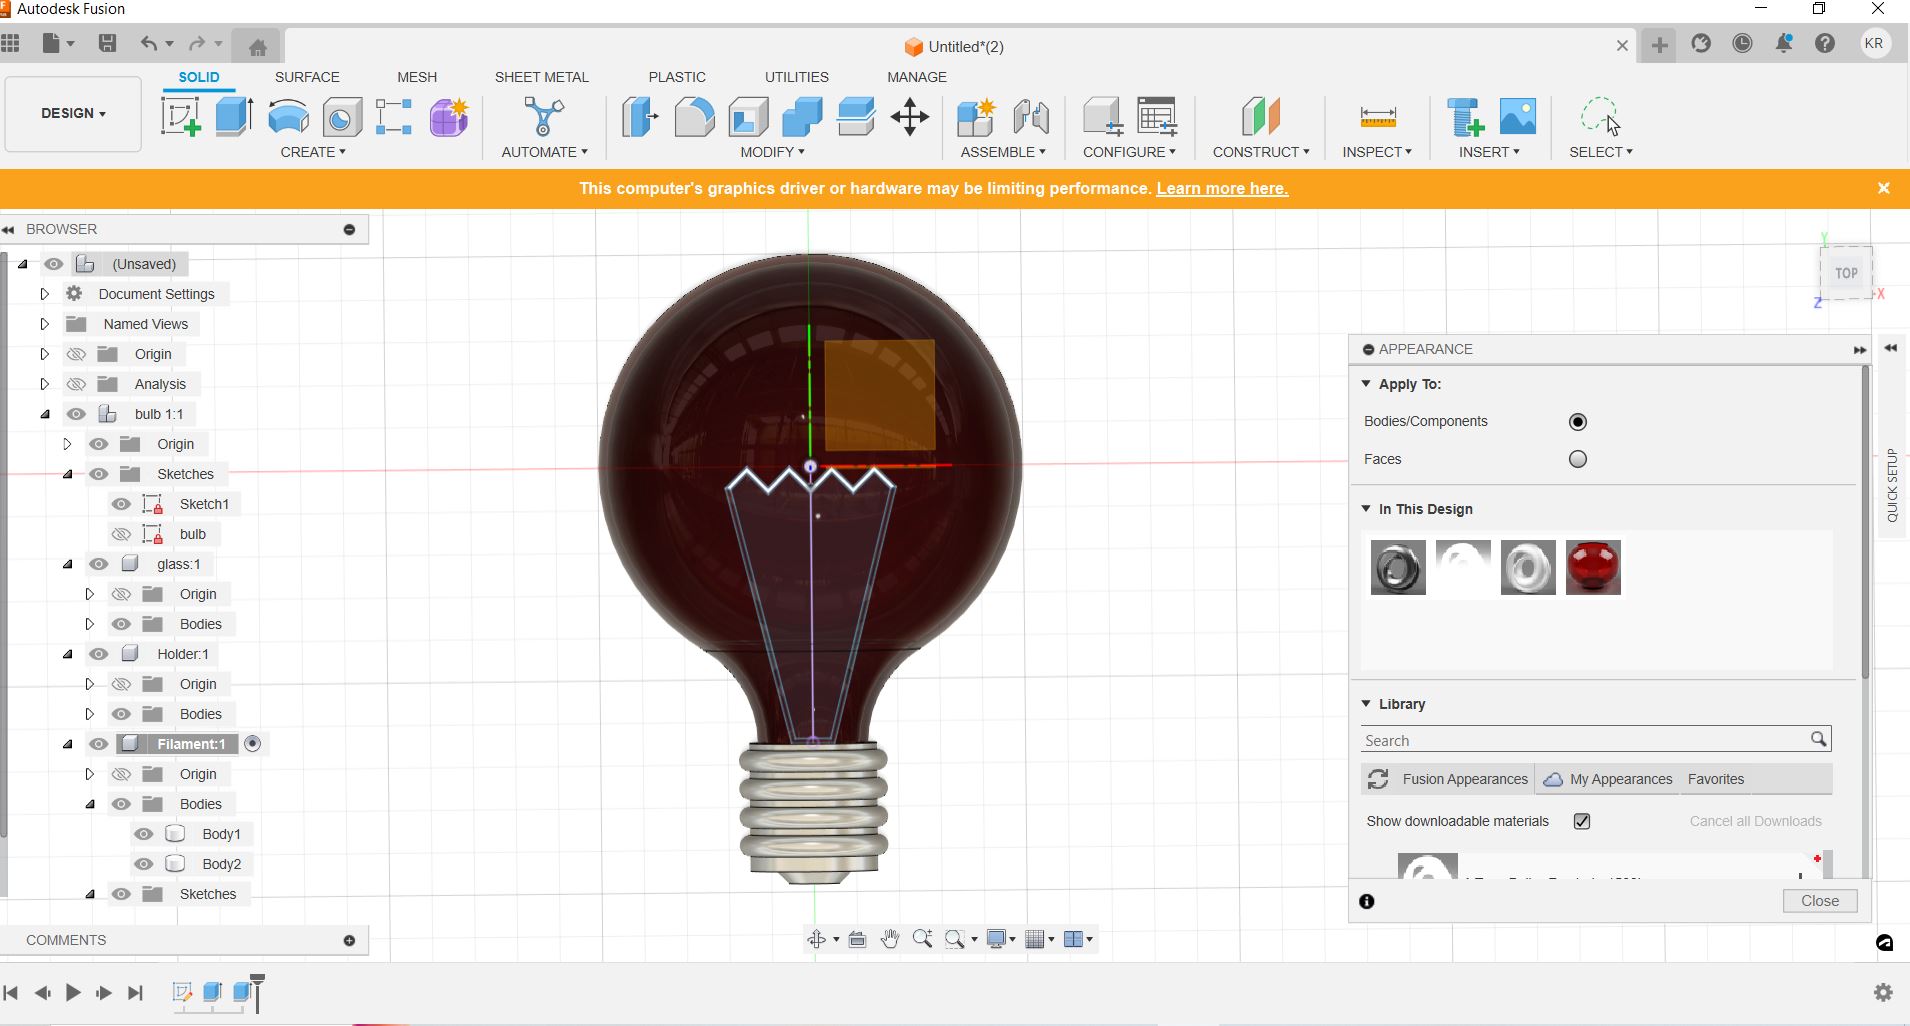
Tried creating a bulb using fusion. It was indeed challenging. Learnt to use many tools in the process.
After making the bulb in fusion 360 I tried making the 3D of my final project

Adding image using Decal tool

Creating slots using emboss tool.

Rendering the model. This is the workbench to render a model in Fusion 360. We can add appearance here.

Final rendering
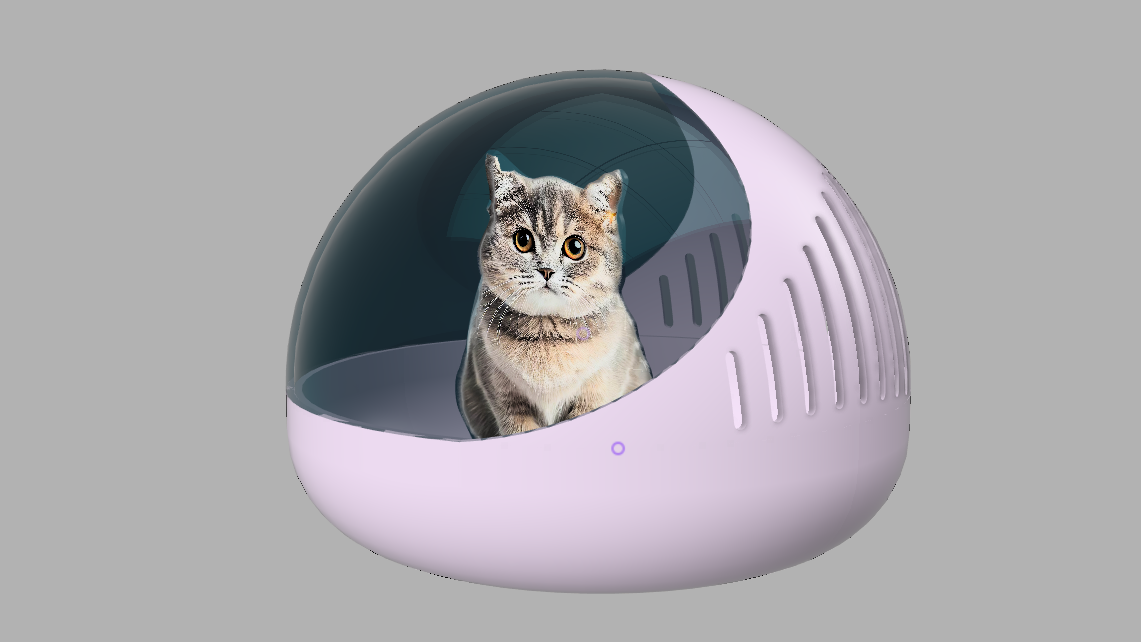
The process
2.Rhino
Rhinoceros is used for computer-aided design (CAD), computer-aided manufacturing (CAM), rapid prototyping, 3D printing and reverse engineering in industries including architecture, industrial design (e.g. automotive design, watercraft design), product design (e.g. jewelry design) as well as for multimedia and graphic
Downloading Rhino
You can dowload the trial version using the below link
https://www.rhino3d.com/download/rhino-for-windows/8/evaluation
The Rhino had a very different workspace. It shows you all the views simultaneously. Which is something I have never seen in the 3D softwares I have used. It took some time to get adjusted to the same

Here I’m I following a tutorial to create a spoon
https://youtu.be/8xkYJ8UIy74?si=kQfPlILTwfEWtaBH

.png)
3.Sketchup
Sketchup is something I regularly use. I’m also familiar with using a lot of extensions. Sketchup is one of the easiest 3D modelling softwares but it has got a limitations when it comes to creating parametric forms. Here I have simply created a hollow box with openings in one side

Compressing Videos and images
Clip champ
Clipchamp is an online video editing tool that allows users to create and edit videos. It also offers functionalities like compressing and converting video files.

I used clip champ to edit and compress the videos to be uploaded

Power toys
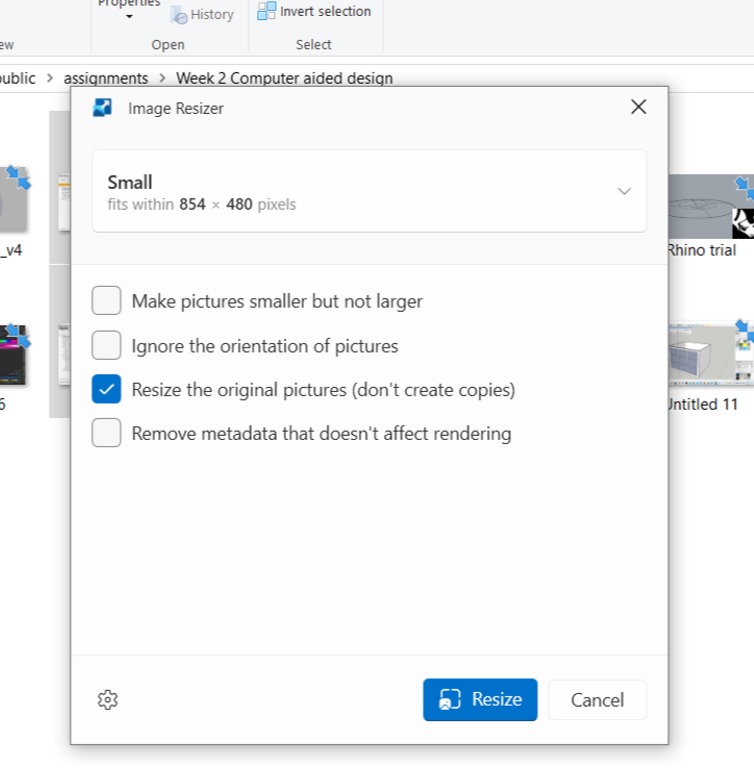
PowerToys is a set of utilities for power users to tune and streamline their Windows experience for greater productivity. It includes tools like FancyZones, PowerRename, and Keyboard Manager.

.png)
